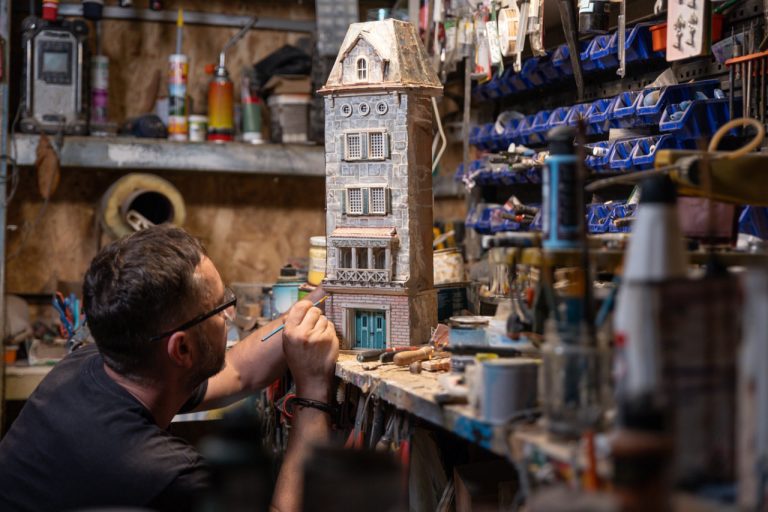
Tips for Painting Miniatures: Achieving Detail and Depth
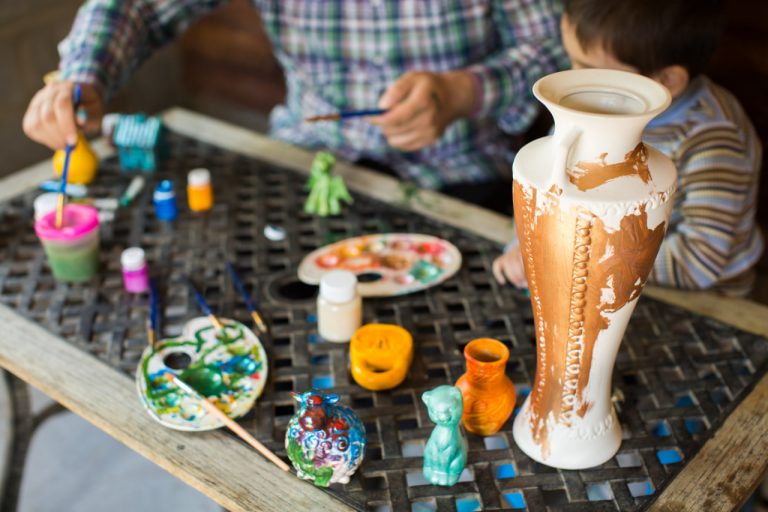
Painting miniatures is a highly rewarding aspect of the miniature crafting hobby, allowing you to bring small-scale models to life with vibrant colors, intricate details, and realistic depth. Achieving a professional-looking finish on tiny surfaces can be challenging, but with the right techniques and mindset, you can elevate your miniature painting skills significantly. This blog will explore essential tips for painting miniatures that help you create detailed and visually compelling pieces.
Preparing Your Miniature for Painting
Preparation is the foundation of any successful paint job. Before applying any paint, thoroughly clean your miniature to remove mold release agents, oils, or dust that may affect paint adhesion. Use warm, soapy water and a soft brush, then allow the miniature to dry completely.
Next, inspect the miniature for mold lines, flash, or imperfections left from the casting process. Use a fine hobby knife or small files to carefully remove these blemishes, smoothing out the surface for a cleaner finish.
Priming is a crucial step that helps paint adhere better and enhances color vibrancy. Choose a primer suitable for the material of your miniature (plastic, resin, or metal). Spray or brush on a thin, even coat of primer, preferably in white, gray, or black depending on the colors you plan to use. White primer brightens colors, black enhances shadows, and gray offers a balanced base.
Choosing the Right Brushes and Paints
Selecting the right tools can dramatically impact your painting results. Invest in high-quality synthetic or sable brushes with fine tips for detail work. Typical sizes for miniature painting range from 000 to 1 for precision and layering.
For paints, acrylics are the most popular choice because they dry quickly, have vibrant colors, and are easy to clean. Brands like Vallejo, Citadel, and Reaper offer extensive miniature paint ranges.
Use a wet palette to keep your paints moist and workable for longer periods. This helps with blending and layering, making transitions smoother.
Mastering Brush Control and Techniques
Brush control is key to painting fine details on miniatures. Practice holding your brush like a pencil for precision and use your other hand as a stabilizer by resting it on your painting surface.
Start with thin paint layers to avoid obscuring details. Thin your acrylics with a little water or medium to create smooth, translucent coats. Several thin layers are better than one thick coat.
Basic techniques to master include:
- Base coating: Apply the base color evenly over the area.
- Layering: Build up color intensity by applying progressively lighter or darker shades.
- Dry brushing: Use a mostly dry brush with little paint to lightly highlight raised details and textures.
- Washing: Apply thinned-down paint or ink washes into recesses to create shadows and depth.
- Glazing: Use very thin, translucent layers of paint to adjust color tone or add richness without hiding details.
Creating Depth with Highlights and Shadows
To make your miniature look three-dimensional and lifelike, emphasize contrast between light and shadow. Think about where your miniature’s light source would be and paint highlights accordingly on raised or exposed areas.
Use lighter tones for highlights, gently blending them into mid-tones for a natural transition. Conversely, deepen shadows in recessed or hidden areas using darker tones or washes.
Avoid pure black for shadows unless it fits the style, as natural shadows often have subtle color. Experiment with blues, purples, or browns for more realistic shading.
Enhancing Details and Textures
Details such as eyes, buttons, jewelry, and textures like wood grain or fabric patterns bring your miniature to life. Use a fine detail brush and magnification tools if needed to carefully paint these elements.
To paint eyes, start with a white base, then add the iris and pupil with tiny dots of color. Adding a tiny white dot for the reflection creates a lifelike sparkle.
For textured surfaces, layering techniques and dry brushing can simulate materials like leather, metal, or stone. Use stippling (tapping the brush) to mimic rough surfaces.
Avoiding Common Mistakes
Be patient and avoid rushing your paint job. Trying to fix errors with thick layers can obscure details. Instead, let paint dry thoroughly between layers and work in stages.
Don’t overload your brush with paint; control the amount to prevent blobs or streaks. Keep your brush clean and reshape its tip regularly to maintain precision.
If you make a mistake, gently remove it with a damp brush or repaint the area once dry.
Sealing and Protecting Your Work
Once your miniature is fully painted and dry, seal it with a clear varnish to protect your work from handling and wear. Matte varnish is usually preferred for a natural look, but gloss varnish can be used selectively for shiny surfaces like armor or gems.
Apply the varnish in thin, even coats using a spray can or airbrush for the best finish.